Table of Contents
Introduction to Automated Annual Leave Tracker in Excel and VBA:
Annual Leave Tracker is an Excel-based automated tool designed to track and generate leave reports for a team or function. This tracker is fully customizable, allowing you to make the necessary changes according to your business requirements. It can support up to 15 employees and 4 types of leaves. The tracker is dynamic in nature, enabling you to change the holiday list, weekend details, employee names, and leave types as per your specific needs. It can automatically generate a report that shows all the dates against leave type, employee name, and month.
In this post, we will discuss how to customize this tool according to your requirements and use it effectively. To ensure the protection of the sheet and VBA code, the tool is password-protected. However, you can unprotect the sheets, workbook, and VBA code to make any necessary changes. The workbook and worksheet password is 0000, and the password for VBA is abc@1234.
Understanding the Structure of Annual Leave Tracker
Let’s discuss the structure of the Leave Tracker and how to customize this tool to meet your requirements.

This tool is composed of five different sheets, each with different functions to automate the tracker.
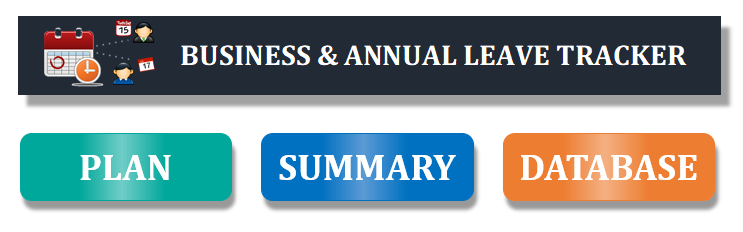
- Home Sheet – This sheet provides the user interface, allowing users to open the form, apply for leave, jump to the database and view the summary.
- Support Sheet – This sheet contains four different types of tables: 1. Holidays List, 2. Weekend Details, 3. Employee Names and 4. Leave Types.
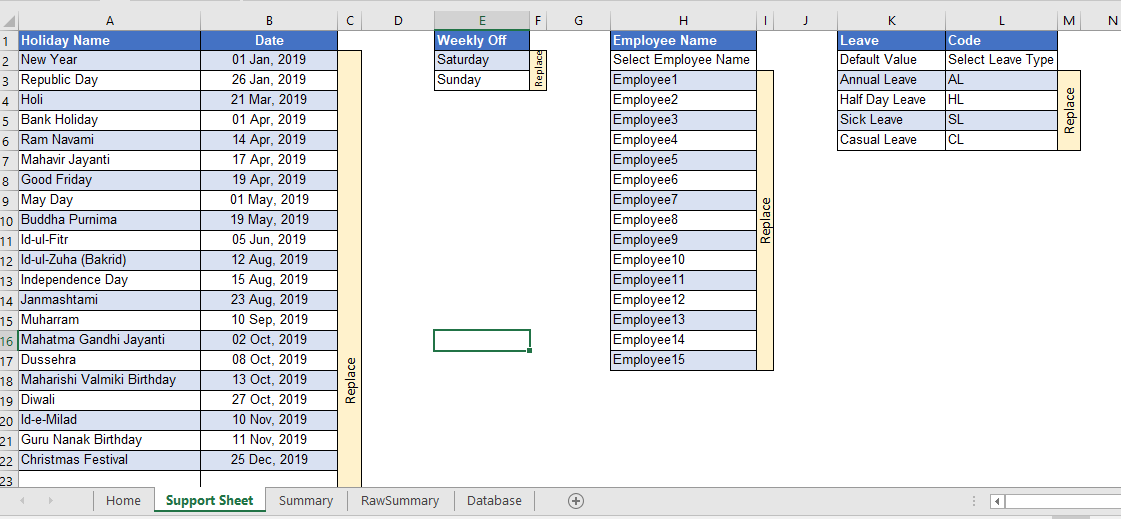
Table 1 – Holidays List: Please update the name of the holidays in Column A and the respective dates in Column B from row number 2. There is no limitation to the number of public holidays that can be added to this table. You can mention as many leaves as required or applicable in your office or company. Public Holidays will be excluded when users apply for leaves.
Table 2 – Weekend Details: This tool supports only two weekly offs in a week. You can change the existing days, i.e., Saturday and Sunday, to other days if those are not the weekly offs in your office or company. Please ensure you do not change the reference of cells and update only two days as Weekly Off. If you need to update more than two days, you will have to make the changes in the VBA code so that the tool can exclude the week offs from the leave date range that users apply through the form.
Table 3 – Employees Name: Employee Names: This tool supports only 15 employees by default. Please replace the employee names in cell range $H$3:$H$17 in Column H. Do not change the value of cell $H$2 and the reference of the column. Once you update all the 15 employees on the list, this tool will automatically update the drop-down and all the reports.
Table 4 – Leave Details: This tool only supports four types of leaves. You can make changes to the default leaves mentioned in range $L$3:$L$6. Do not make any changes to cell $L$2. If you need more leave types, you will have to make changes in the VBA code and formula references for the ‘Summary’ and ‘Raw Summary’ sheets.
Once you have updated all the tables with valid details without changing references or adding rows/columns, the tool will automatically pick up the updated details in the form and reports.
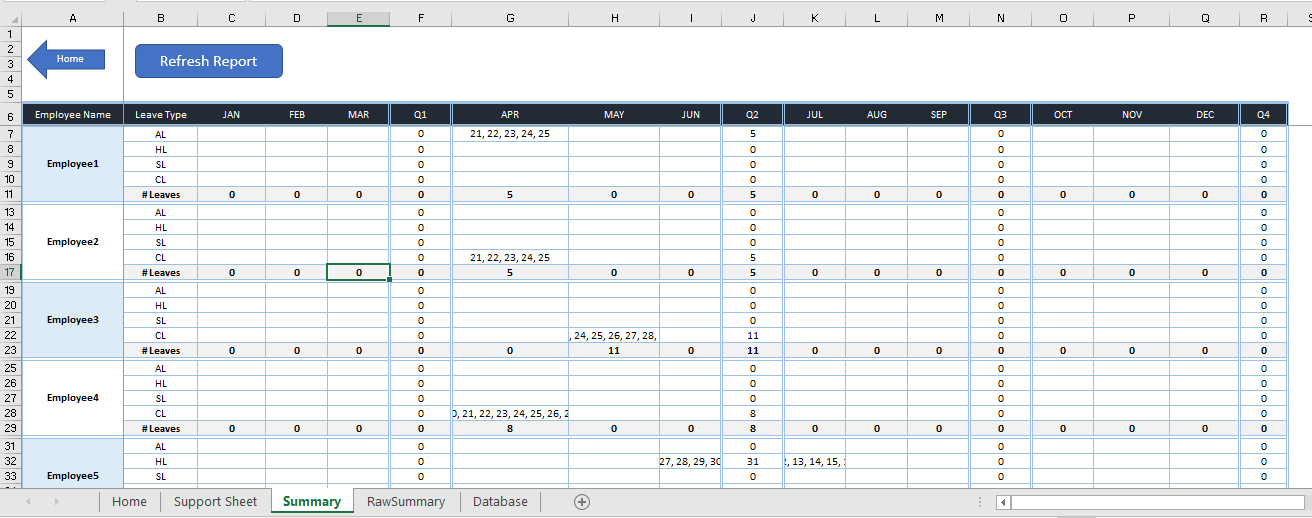
- Summary Sheet – This sheet contains the report view of the leaves. It shows the leave dates against Employee Name, Leave Type, and Months. It also shows the aggregation of leaves for the month and quarter.
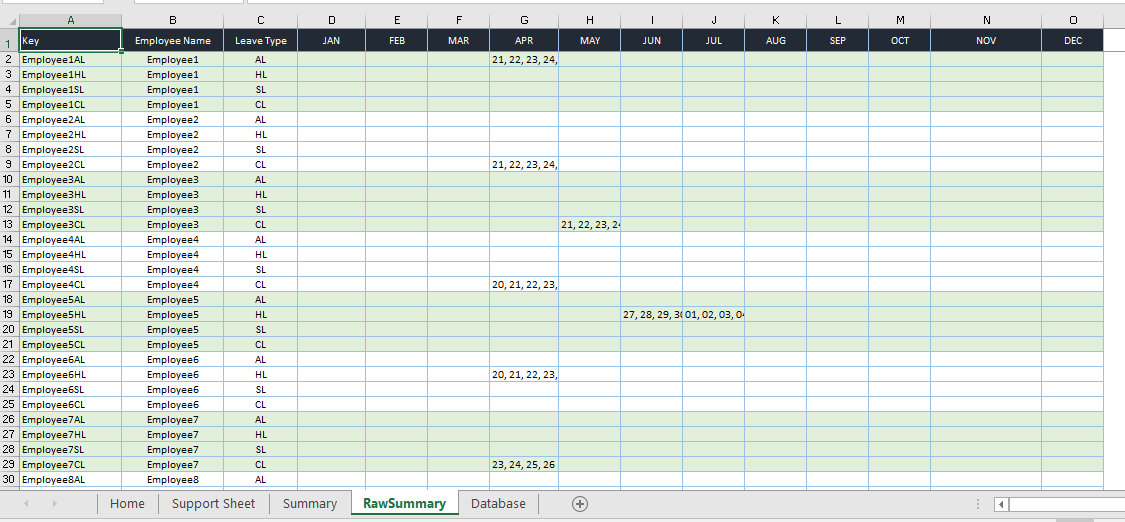
- RawSummary Sheet – This sheet is not visible by default and is very hidden in VBE. This sheet is only for the internal usage of this tool to prepare reports in the ‘Summary’ sheet. The VBA code generates the leave dates against Employee Names, Leave Types, and Months in this sheet. In the ‘Summary’ sheet, we retrieve the concatenated dates from the ‘Raw Summary’ sheet using lookup functions to show the report. You should only refer to this sheet when you need to add more than 15 employees and/or more than four leave types in the Support sheet.
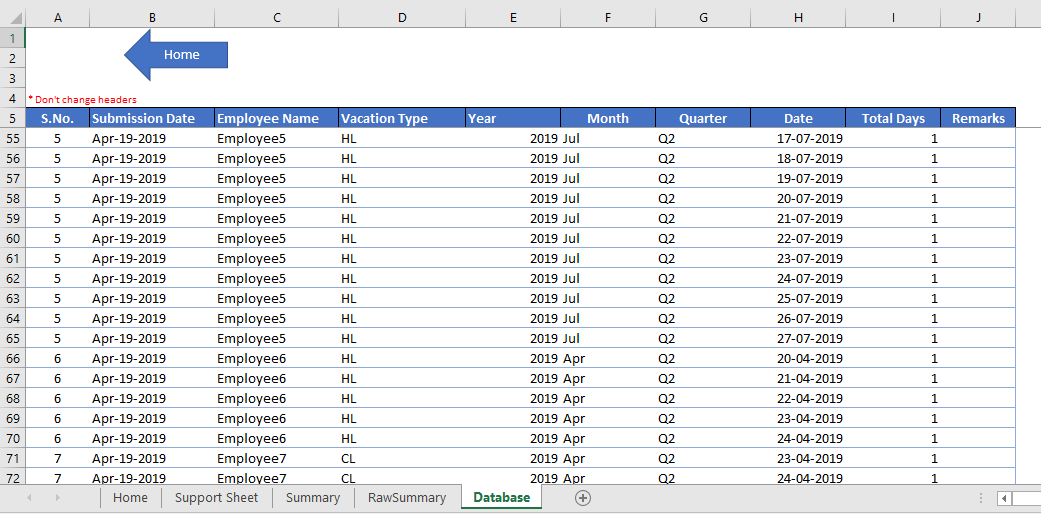
- Database Sheet – This sheet acts as a database to hold all the leave details applied by the user. You can either utilize the form to apply for leaves or make manual entries in this sheet directly. Please ensure you update the correct details while adding manual entries in this sheet. If there is any mistake in the Employee Name, Leave Type, and other details, the tool will not pick up the details in the report view. I would strongly recommend that you use the form to apply for leaves (we will discuss how to use the form to apply for leaves in the later section of this page).
How to use the Annual Leave Tracker?
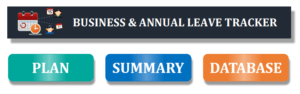
Using the Annual Leave Tracker is simple and straightforward. The tool is designed with three main functionalities: Plan, Summary, and Database. On the Home sheet, you’ll see three buttons, each corresponding to one of these functionalities.
To plan your leave, click on the Plan button on the Home sheet. This will bring up a form where you can enter all the necessary details and apply for your leave. Here’s a step-by-step guide on how to use the form:
The ‘S.No’, ‘Submission Date’, and ‘Total Days’ fields are auto populated by the tool.
- Select your name and leave type from the drop-down menus.
- Choose your start and end dates using the calendar buttons. Note that the start and end dates cannot be in the past, and the end date must be before the start date.
- The tool will automatically calculate the total number of days, taking into account any weekends or public holidays that fall within your chosen date range.
- You can enter any remarks you have in the Remarks text box, although this is optional.
- Click on the Submit button to add your details to the Database sheet, or click on the Reset button to start over.
- Click on ‘Submit’ button to update the filled details to the ‘Database’ sheet.
- Click on ‘Reset’ button to reset the form so that you can re-enter the correct details to apply leave(s).
Once you’ve submitted your leave details, the tool will automatically exclude any weekends or public holidays and update the Database sheet with your selected leave type, name, and date range. It will also refresh the report to reflect the new data.
To view your leave summary, click on the Summary button, which will take you to the Summary sheet. Here, you can see an overview of all the leave requests that have been entered. If you want to update the report with the latest data, click on the Refresh Report button. To return to the Home sheet, simply click on the arrow button.
If you want to make manual entries or modify existing records, click on the Database button to go to the Database sheet. Here, you can update your details or add new entries. Just be sure to enter all the correct information, as any errors can affect the accuracy of the report. To go back to the Home sheet, click on the arrow button.
By following these simple steps, you can use the Annual Leave Tracker tool to manage your leave requests and keep track of your time off.
Download the Leave Planner
Please click on the button below to download the Annual Leave Planner tracker for free!

Refer the below link to learn how to develop Complaint management system in Exce.

