Table of Contents
Introduction
Emails are a crucial part of communication in today’s digital world. However, it can take a lot of time to send emails individually, especially if you have many recipients. Luckily, you can use VBA in MS Excel to automate this email sending process. In this blog post, we’ll show you how to use VBA to Send Email from Excel with Attachment and Image in Mail Body.
By the end of this blog post, you’ll know how to use VBA to send emails from Excel with an attachment and image in the mail body. This can save you time and help you automate your email communication. So, let’s get started!
YouTube Tutorial ‘Send Email from Excel with Attachment and Image in Mail Body’
Note: To automate this email process, we will use MS Excel, VBA, and HTML.
Step-by-Step Tutorial to Use VBA to Send Email from Excel with Attachment and Image in Mail Body
Creating Excel file and design Home page and user email list
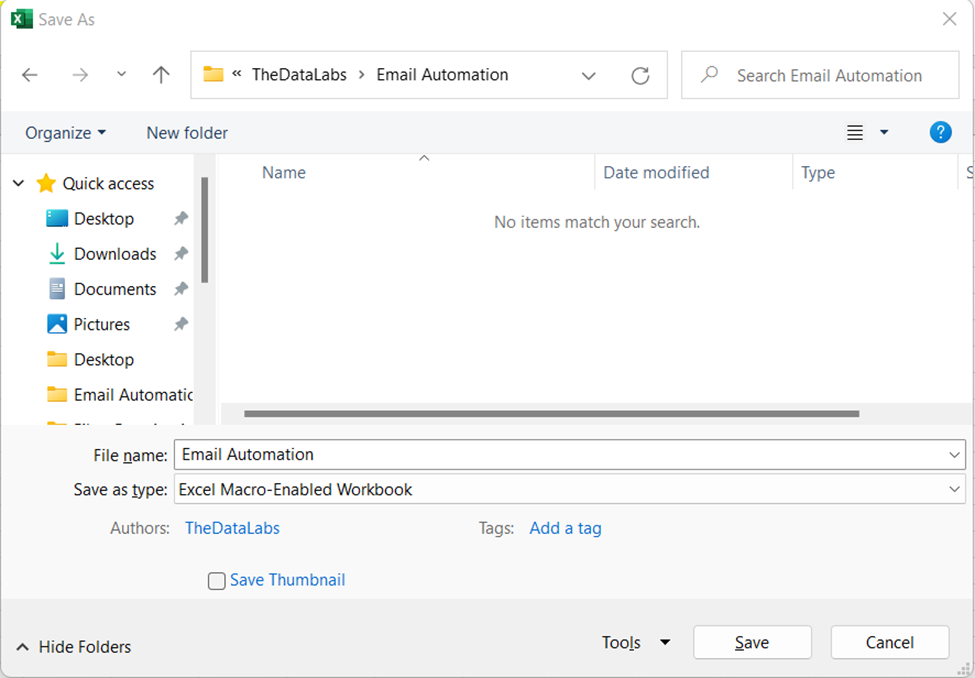
- To begin, create a new Excel file and save it with the title “Email Automation” using the file extension ‘.xlsm’.
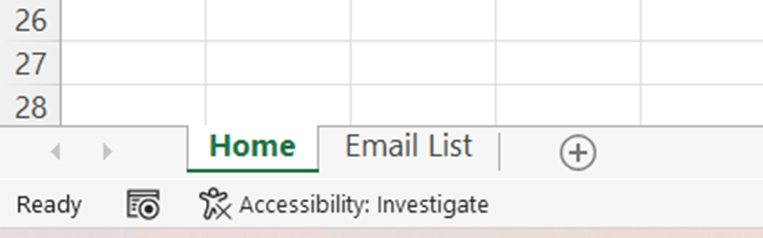
- Insert two worksheets in the Excel workbook and rename these ‘Home’ and ‘Email List’ respectively.
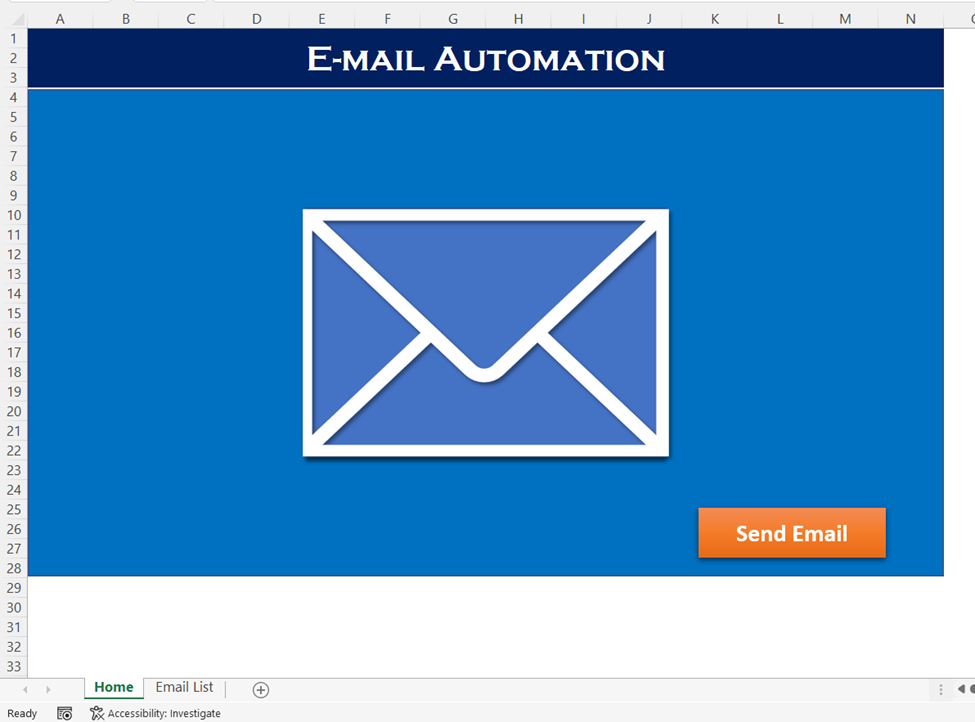
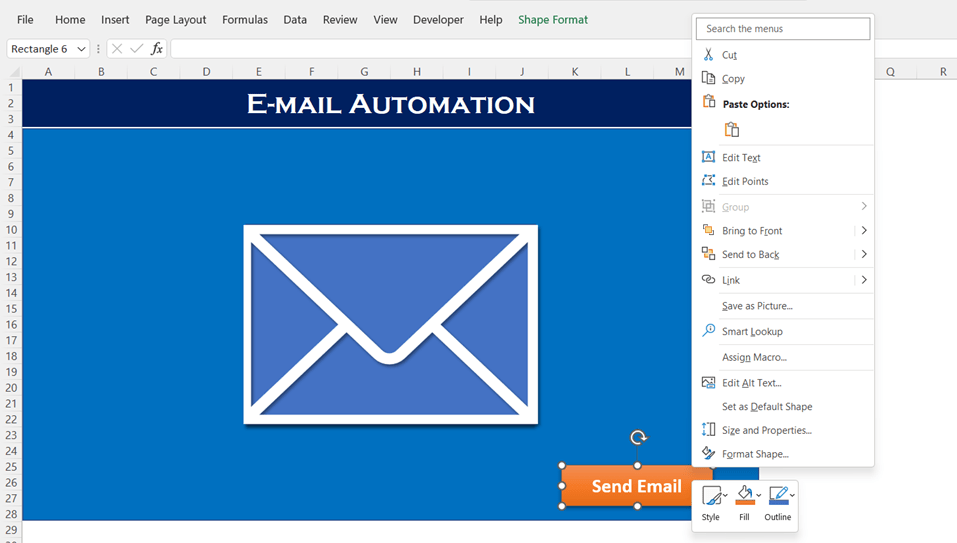
- Next, create the design of the ‘Home’ page by adding the necessary header, image, and a rectangular shape button that can be used to run the Macro/VBA.
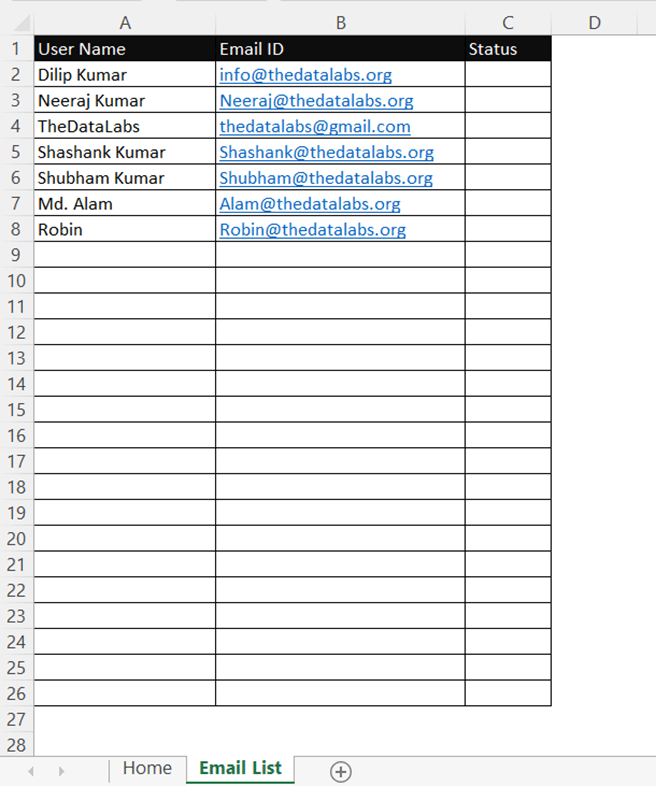
- In the ‘Email List’ worksheet, compile the list of email addresses and user details.
Open VBA window and insert blank module
We will now proceed to VBA to begin writing the code that will allow us to send emails from Excel with an attachment and image in the mail body.
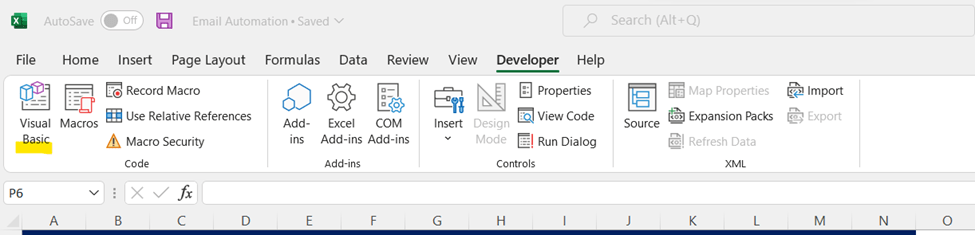
- To open VBA, click on Developer Tab and then select VBA button available in Code Group. Alternatively, you can also press ALT + F11 as a shortcut key to open VBA window.
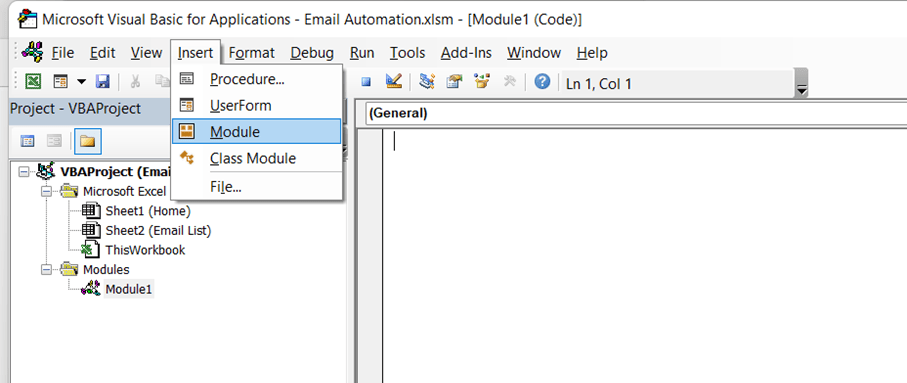
- To write the necessary code, we must first insert a module into the current project. To do this, select the Insert menu and click on Module to add a blank module.
Sample emails and support files (image and Excel file)
We are almost done with the basic requirement to write the VBA code to automate the email automation. However, before proceeding, let’s take a look at a sample email, attachment file, and image for the mail body.
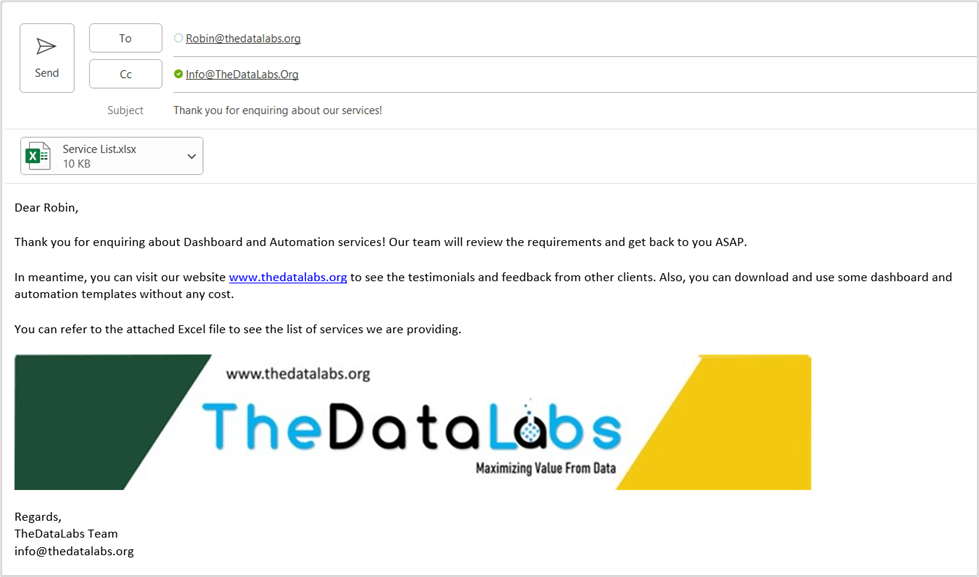
Here, we are using TheDataLabs banner (image) in mail body and Excel file as attachment.
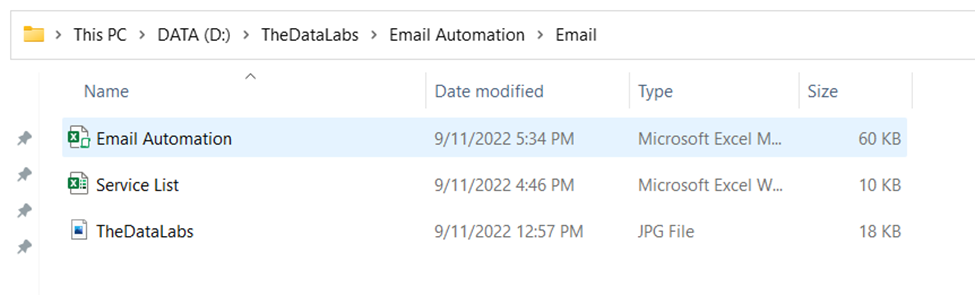
To utilize the image in the mail body and attach the Excel file, you must ensure that both files are stored in the same folder where you saved the ‘Email Automation’ file. Refer to the snapshot below for more information.
Write VBA code to Send Email from Excel with Attachment and Image in Mail Body
Let’s start writing the code in blank module. Move to module window and start writing the following code for creating and sending/displaying email.
'VBA Procedure to Prepare and Send Email

Sub SendEmail(S_UserName As String, S_EmailID As String)

    'Declaring variables as object type  to refer Outlook Application & Mail Item

    Dim OutApp As Object ' Outlook Application
    Dim OutMail As Object  'Outlook Mail Item
    Dim sImgName As String

    'Set the reference of Outlook Application

    Set OutApp = CreateObject("Outlook.Application")

    'Set the reference  of Mail  Item

    Set OutMail = OutApp.CreateItem(0)

    On Error Resume Next

    With OutMail

        .To = S_EmailID
        .From = ""
        .CC = "Info@TheDataLabs.Org"
        .BCC = ""
        .Attachments.Add ThisWorkbook.Path & "\Service List.xlsx"

        'Code to embed  the image in mail body without using the original image source.

        .Attachments.Add ThisWorkbook.Path & "\TheDataLabs.jpg"
         sImgName = "TheDataLabs.jpg"
        .Subject = "Thank you for enquiring about our services!"
        .HTMLBody = "<HTML><Body><P>Dear " & S_UserName & ",<BR><BR>Thank you for enquiring about Dashboard and Automation services! Our team will review the requirements and get back to you ASAP.<BR><BR>In meantime, you can visit our website <a href=""www.thedatalabs.org"">www.thedatalabs.org</a> to see the testimonials and feedback from other clients. Also, you can download and use some dashboard and automation templates without any cost. <BR><BR>You can refer to the attached Excel file to see the list of services we are providing.<BR><BR><a href=""www.thedatalabs.org""><img src='cid:" & sImgName & "'" & " ></a><BR> <BR>Regards,<BR>TheDataLabs Team<BR>info@thedatalabs.org </P></Body></HTML>"
        .Display
        '.Send
    End With

    Set OutMail = Nothing
    Set OutApp = Nothing

End Sub
HTML Body code in formatted style for better understanding
"<HTML>
<Body>
<P>Dear " & S_UserName & ",<BR><BR>

Thank you for enquiring about Dashboard and Automation services! Our team will review the requirements and get back to you ASAP.<BR><BR>

In meantime, you can visit our website <a href=""www.thedatalabs.org"">www.thedatalabs.org</a> to see the testimonials and feedback from other clients. Also, you can download and use some dashboard and automation templates without any cost. <BR><BR>

You can refer to the attached Excel file to see the list of services we are providing.<BR><BR>

<a href=""www.thedatalabs.org""><img src='cid:" & sImgName & "'" & " ></a><BR> <BR>

Regards,<BR>
TheDataLabs Team<BR>
info@thedatalabs.org
</P>
</Body>
</HTML>"
Let’s create on more sub routine to start email sending process. We will assign this sub procedure on button available on ‘Home’ page.
'VBA Sub Procedure to Start Email

Sub Start_Email()

    Dim iConfirmation As VbMsgBoxResult

    iConfirmation = MsgBox("Do you want to send the emails?", vbYesNo + vbQuestion, "Confirmation")

    If iConfirmation = vbNo Then Exit Sub

    'Declaring Variables to refer the 'Email List' worksheet

    Dim sh As Worksheet
    Dim iRow  As Integer

    Set sh = ThisWorkbook.Sheets("Email List")

    iRow = 2

    Do While sh.Range("A" & iRow).Value <> ""

        'check whether email has already sent or not
        If sh.Range("C" & iRow).Value = "" Then

            'Call SendEmail(S_UserName As String, S_EmailID As String)
            Call SendEmail(sh.Range("A" & iRow).Value, sh.Range("B" & iRow).Value)
            sh.Range("C" & iRow).Value = "Done"

        End If

        iRow = iRow + 1
    Loop

End Sub
We have successfully written the necessary code to automate the process. Next, let’s navigate to the Excel window and assign the ‘Start_Email’ sub procedure to the button we created on the ‘Home’ page.
Assigning the Macro on Send Button
- Simply right-click on the ‘Send Email’ button located on the ‘Home’ page and select ‘Assign Macro.’
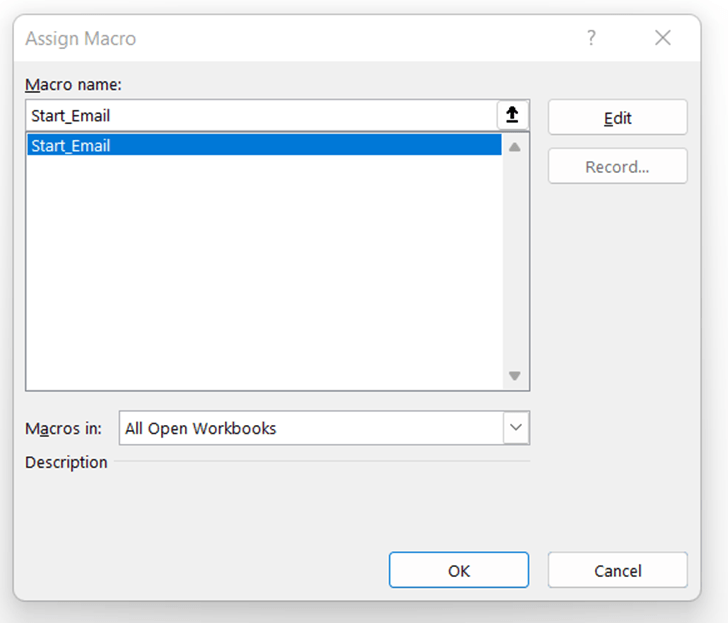
- In Assign Macro window, choose the macro name ‘Start_Email’ from the list of available options, and then select the OK button.
Now that everything is completed, you can click on the ‘Send Email’ button to test the tool. Keep in mind that we are currently using the ‘Display’ function while creating the email. After reviewing the emails, you can go back to the ‘SendEmail’ procedure, uncomment ‘Send’, and comment out ‘Display’.
Download the demo file with source code
Click on below button to download the demo tool and sample files.