
Are you just going to start with Google Forms? Heard of this tool but never tried it before? Either way, here we have come up with complete tutorial on Google Forms so that you can start using the Google’s powerful form tool and build a Fully Automated Data Entry Form, Surveys Form and Other Forms online for free.
What is Google Forms?
Google Forms is a free tool that’s the part of G-Suite. It allows collecting information from users via a personalized data entry form, survey or quiz. The information is then collected, automatically connected to a Google Sheet and analyzed in Google Analytics and other tools. Since, It’s a web based tool so it works on any platform without compromising any features and you can share and collaborate with multiple users on the same form in real-time.
How to Sign In Your Google Account To Create Google Form
Before you can use Google Forms, you need to sign in to your Google account. We are assuming that you have already a Google account. If you don’t have a Google Account then you can create a Google account. Click here to learn how to create a Google Account.
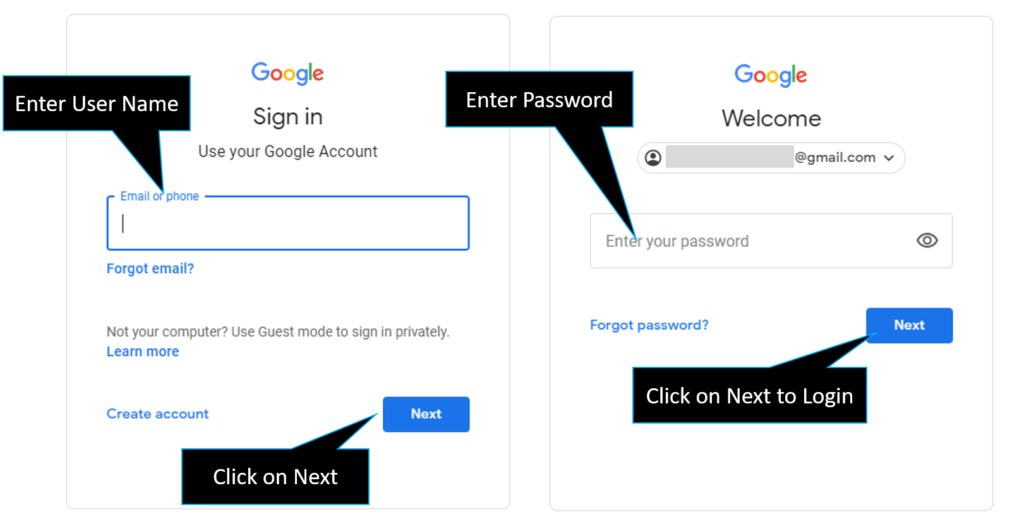
Head over to accounts.google.com/servicelogin, enter your email or mobile number and click on next and then enter your password to login.
Open Google Drive
Now, you have logged in to your Google account, it’s time to create your first Form.
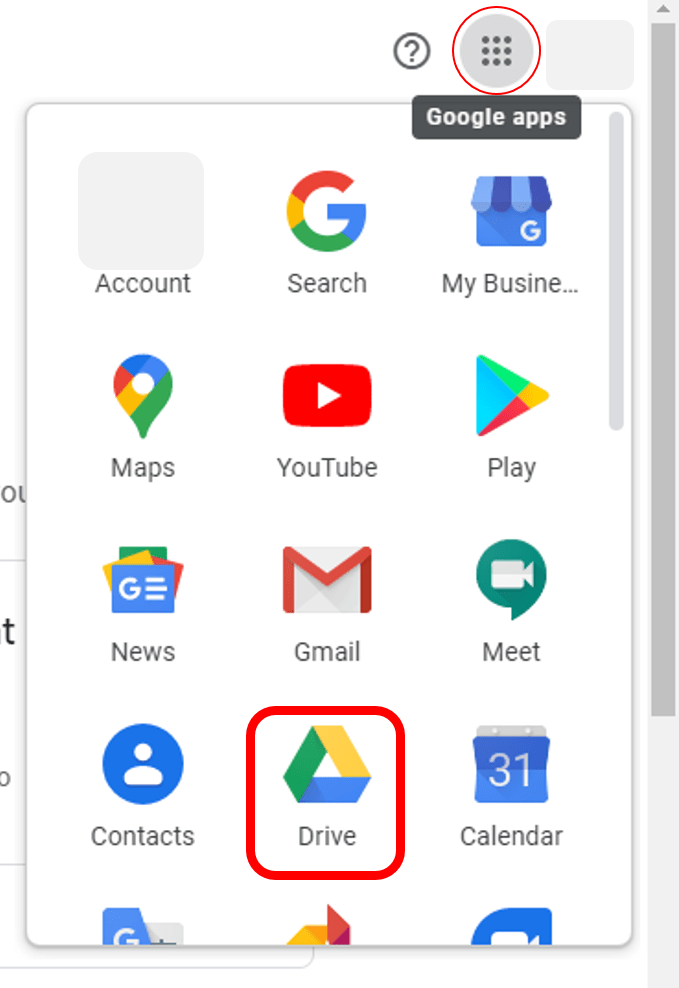
To open the Google drive, click on Google App Icon available on top-right corner of your Google account page.
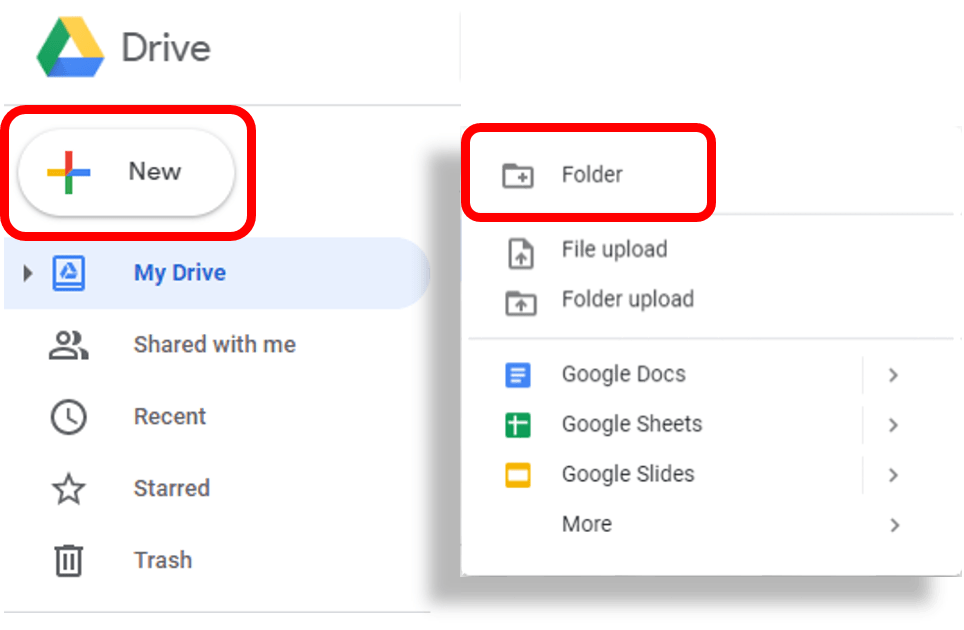
Head over to the Google Drive homepage and click on the multicolored plus sign (+) in the top-left corner then click on Folder to create a new folder.
Now, provide the Folder Name as ‘My First Google Form’ in New Folder pop-up window and then click on Create button.

Now, ‘My First Google Form’ folder is ready. Just double click on folder to open this newly created folder.

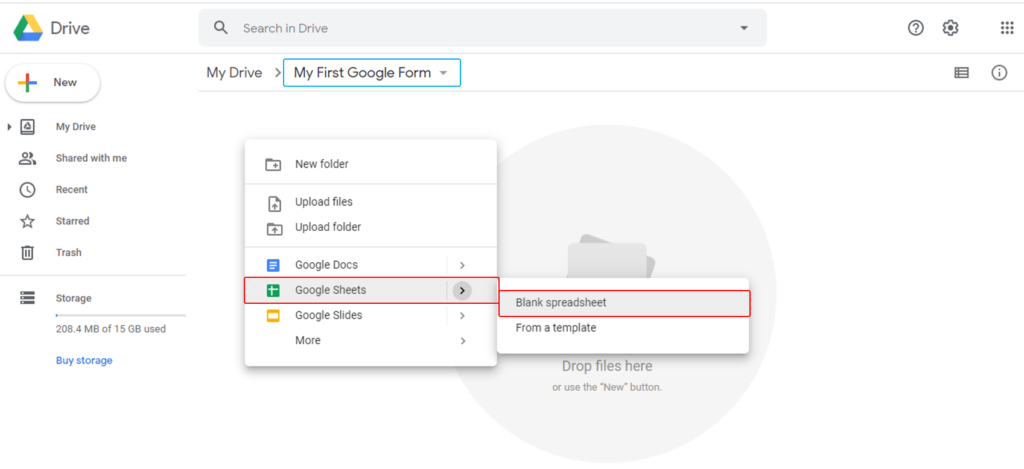
‘My First Google Form’ folder is open now. Let us right click inside the folder window then select Google Sheets and then click on Blank Spreadsheet.
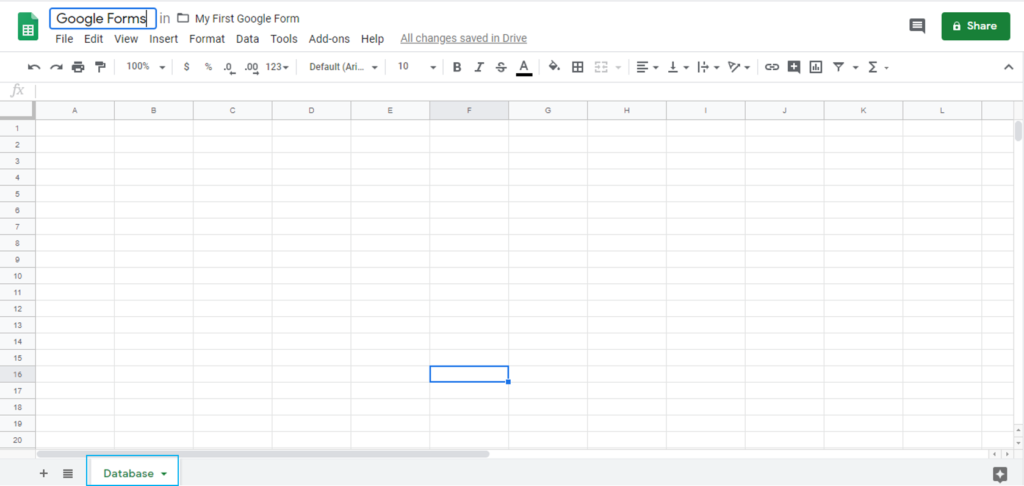
Once you click on Blank spreadsheet, it will open a new tab for Google Sheet. Change the Title from ‘Untitled spreadsheet’ to ‘Google Forms’ and rename the ‘Sheet1’ to ‘Database’.
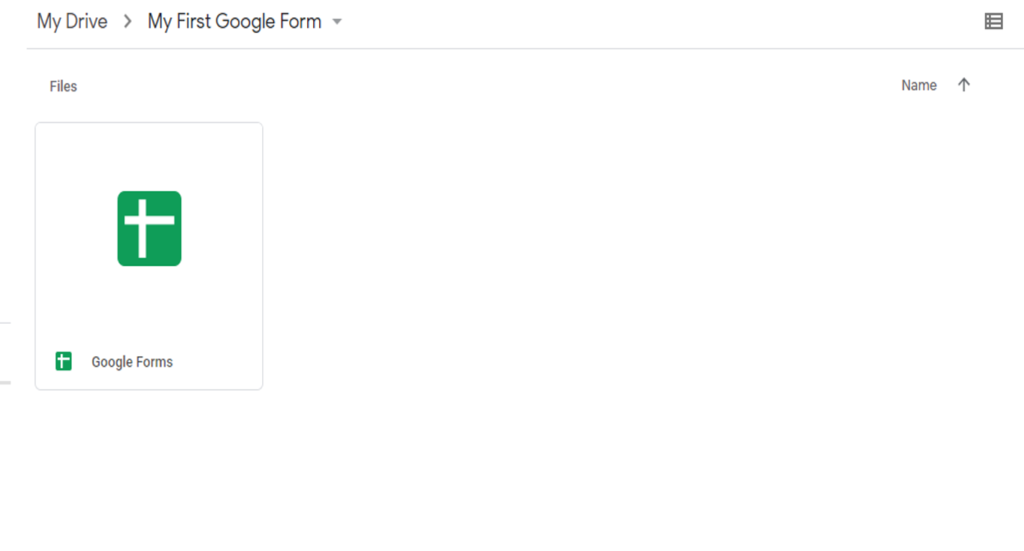
Now, close the Google Sheet tab and come back to Google Drive folder. Here, we can see a Google Spreadsheet available in our folder.
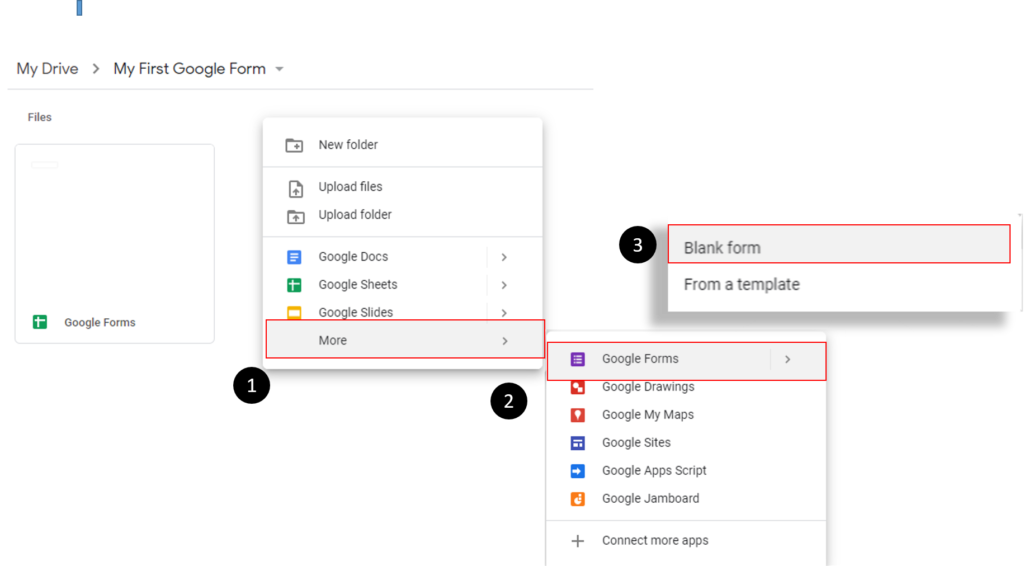
We have done with creating a Google Sheet. Now, it’s time to create a Blank Google Form. To create a form, just right click in Folder then select ‘More’ -> ‘Google Forms’ and then click on ‘Blank Form’.
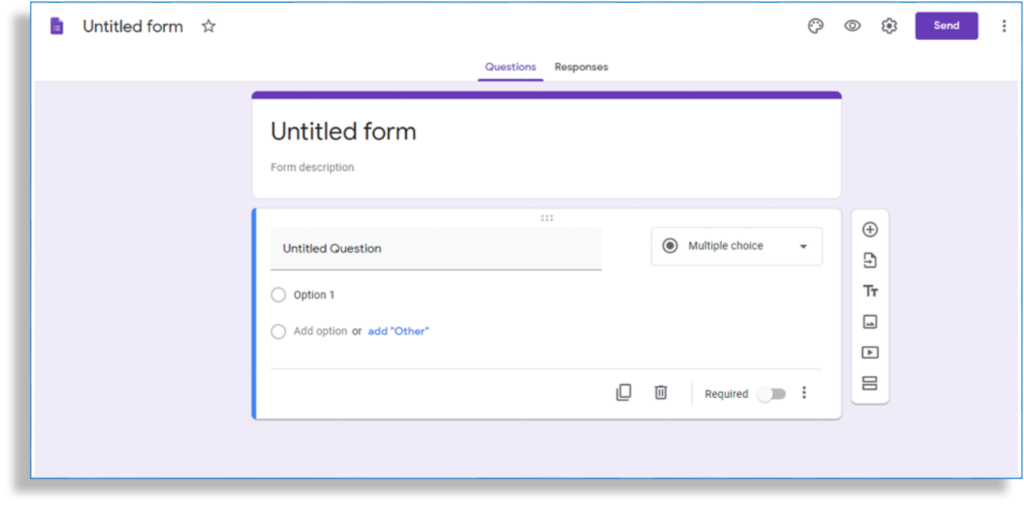
Once you click on Blank Form, it will create a blank form and open in a new tab.
How to Connect the Form with existing Google Sheets
One of the first things we need to do is to connect the Google Form with Google sheet we created. By default, Google forms automatically creates a Google Spreadsheet to store the data but it’s always a better idea to take control in our hand and utilize the spreadsheet we created to store the data captured through Google Forms.
To select the spreadsheet, just click on Responses then click on ellipses (triple dots available beside the Google Spreadsheet Icon) and then click on ‘Select response destination’, choose the option ‘Select Existing Spreadsheet’ and finally select the ‘Google Form’ spreadsheet we created and then click on Select.

How to Customize Your Form
Now it’s time to customize the form. Google Forms lets you customize the theme and help it stand out by adding an image, color, and font style.
Click the artist’s palette at the top of the screen. From here, you can choose a header image from one of the many stock photos provided (or upload one of your own), the primary color of the form, the background color, and font style.
Let’s provide the Google Form Title as ‘Employee Data Entry Form’ and description as ‘Data Entry form to capture employee details’. To do that just click on Untitled Form section and provide the title and then click on form description and provide the description.
Google Forms Field Options
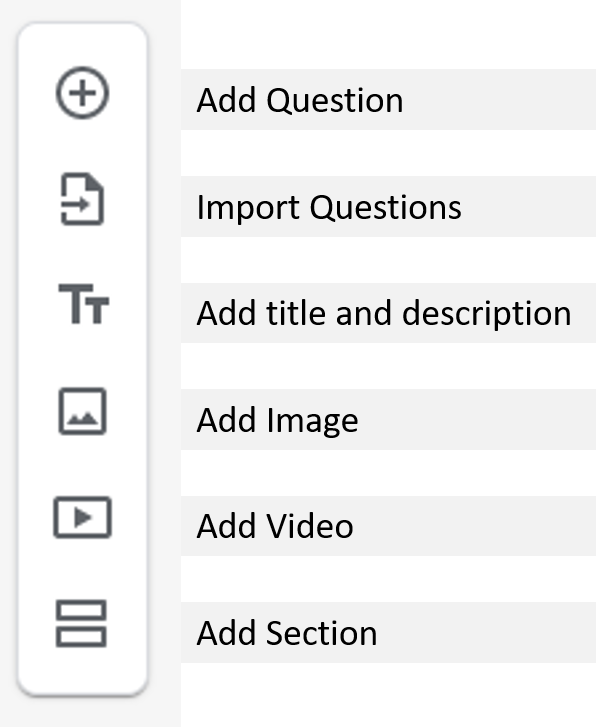
In Google Form, there is a floating toolbar available on the right lets you add more form fields. With the help of floating toolbar, you can add questions; import questions; add title and description; add image, add video and add a section to your form.
How to Choose Question Types
Once you create a Google Form, you can choose the types of questions you want add in your form. Google Form allows you to add varieties of question in your form.
To add a question type, click the drop-down menu next to the question field and select the applicable question.

Then, select the type of question you want from the list. It has total 11 different controls available in the question list.
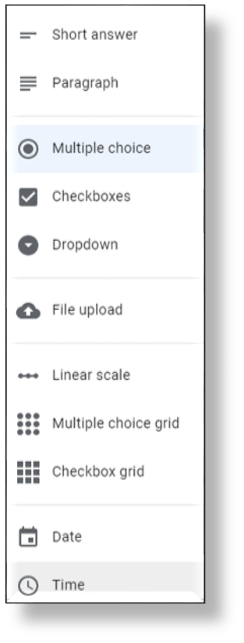
Below are the choices available in Question list. Select any of them to add in your form.
- Short Answer: This question type allows user to enter few words. We can apply input validation on this. This is ideal for Person, City, Company Name, email address or URLs.
- Paragraph: If user needs to provide long-form answers e.g. one or more paragraphs then this is the best question type. Ideal for feedback, long address or subjective question answer.
- Multiple Choice: Option buttons are suitable where we need to select an item from two or more choices. We can also include ‘Other’ as an option so people can input short answer. Ideal for Gender, Marital Status or where we need to get only one choice from user.
- Checkboxes: Users need to choose one or more of a set of options, including the “Other” option with a short answer. Ideal to capture hobbies, skills and other different choices. Depending on the answer provided by end-user, we can also jump to different section of Google form.
- Drop-down: It allows the user to choose one value from a list. When a drop-down list is inactive, it displays a single value. When activated, it displays a list of values, from which the user may select one. Based on the answer, you can, again, send people to another section of the form.
- File Upload: This allows the end-user to upload a file in response to a given question. Uploaded files will be saved on Google Drive and space will be utilized from the owner drive. There is a feasibility to specify the size and type of files people can upload.
- Linear Scale: Users can rate your question on a scale that starts at 0 or 1, and ends on a whole number from 2 to 10. You can use this question type to take feedback on rating scale. And yes, emoji work for labels, too.
- Multiple Choice Grid: This creates a grid from which users can select one answer per given row. Additionally, you can limit answers to one choice per column and shuffle the row order, if required.
- Checkbox Grid: It creates a grid from which user can select one or more answer per row. Same as multiple choice grid, it allows admin to limit answers to one choice per column and shuffle the row order.
- Date: It forces user to choose the date as an answer to the question. The default is day, month, and year. Optionally, you can include the time in people’s answers as well.
- Time: Users need to select the time of day or a duration of time.
Creating Employee Data Entry Form
Now, we have done with all the basic setting of the form and have fair understanding of Floating Menu and Question Types. Let us create Employee Data Entry form. In this form, we will only utilize some basic Question Types and the field would be Employee Id, Employee Name, Supervisor’s Name, Date of Birth, Department, Salary, Email Id, Phone Number and Address.


