
Introduction To Multiple Option Buttons in VBA and Excel
In this post, we will learn how to create and use Multiple Option Buttons and in two or more different groups.
Let’s first understand the basic functionalities of Option Buttons and how they work. Option Buttons are very useful controls available in VBA when a user wants to select one option from a small number of choices. Option Buttons are always used in a group of two or more items. When we select an Option Button from a group, the other Option Buttons in that group get deselected, and this is the actual behavior of the Option Button.
If a UserForm or Data Entry form contains more than one set of Option Buttons, the Option Buttons in each set must have a unique GroupName property value in VBA. If we don’t assign the unique GroupName property to Option Buttons, then all Option Buttons become part of the same set. To create a group, we can also use the Frame Control and enclose the Option Buttons in that. The Frame will automatically group the Option Buttons contained in it.
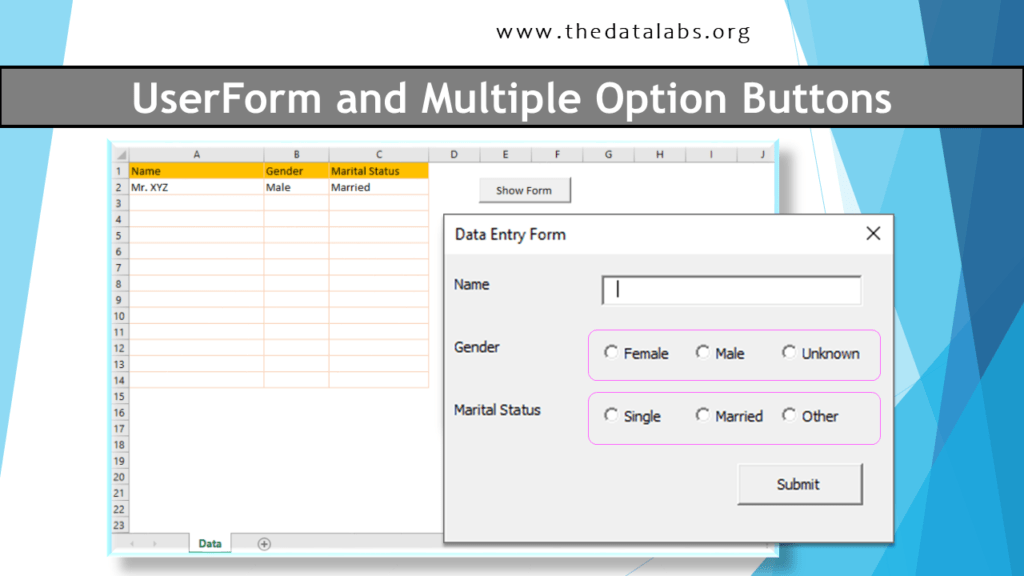
In this multiple option buttons in VBA tutorial, we will use two different groups of Option Buttons. The first will be ‘Gender,’ and the second will be ‘Marital Status.’ So, considering the above rule for Option Button, we will design our form and transfer the data from that form to an Excel Table or Sheet.
Step-by-step Tutorial for Multiple Option Buttons in VBA and Excel
Let us start developing the form from scratch for to use multiple option buttons in VBA.
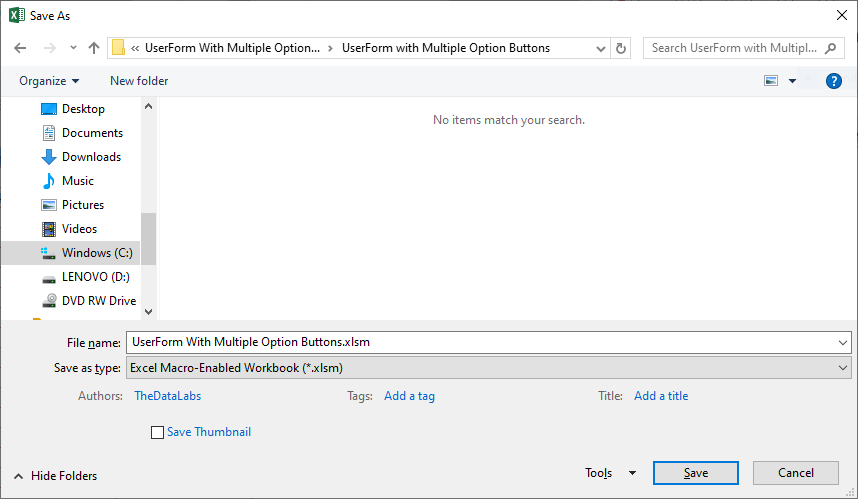
Step 1 – Open the MS Excel Application. Create a New Workbook and save the file with the name ‘UserForm With Multiple Option Buttons.xlsm’. Make sure to select the ‘.XLSM’ extension before saving the file.
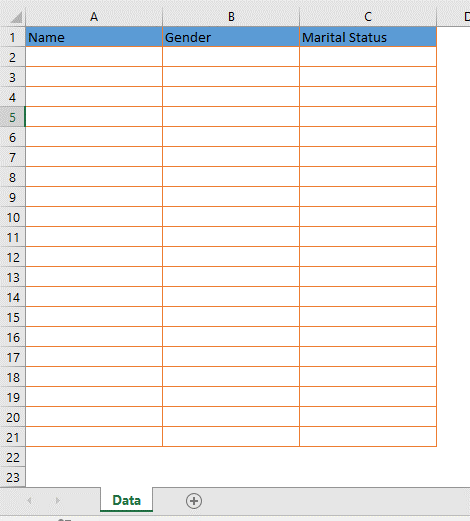
Step 2 – Rename ‘Sheet1’ to ‘Data.’ Create a table with required headers, such as Name, Gender, and Marital Status. Format the table with a background color, border color, and remove the gridline from the sheet.
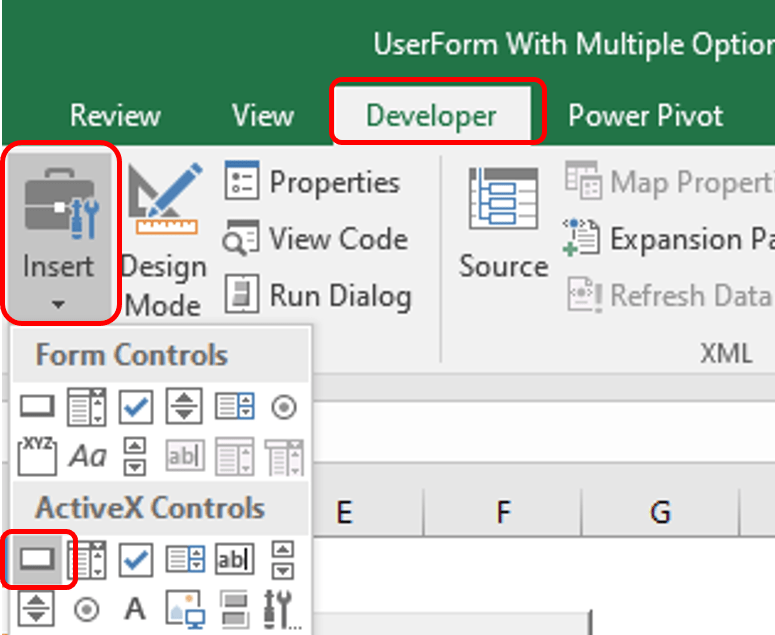
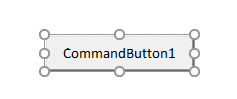
Step 3 – Insert a command button on the right side of the table. To insert a Command Button, go to the Developer Tab, then Click on Insert, and then select Command Button Control in ActiveX Controls.
Step 4 – Now draw the Command Button on the sheet and change the properties of the Command Button. To change the properties, right-click on the button and select Properties. In the Properties window, update the Name to ‘cmdShow’ and Caption to ‘Show Form.’ Please see the below image.

Step 5 – Let us move to the Visual Basic Application window. To do that, just click on the Developer Tab, then click on the Visual Basic button available in the Code group. Alternatively, you can also press ALT + F11 to open the VBA window.

Step 6 – In the VBA window, let us insert a UserForm. To do that, just click on the Insert Menu, then click on ‘Form.’

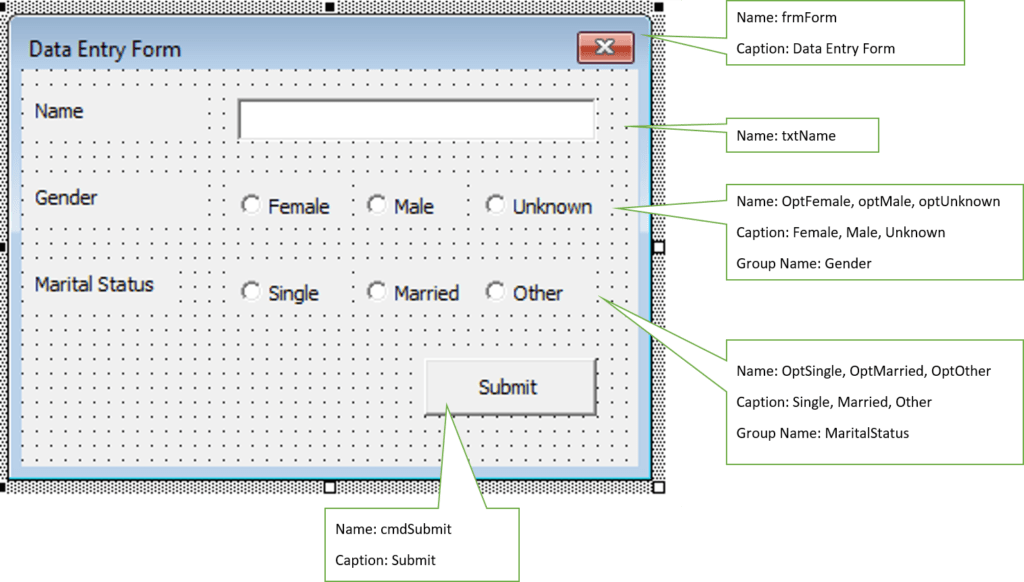
Step 7 – Let us design the Data Entry form with required controls for the fields Name, Gender, and Marital Status with a command button to submit the data. Please see the below image and follow the same properties to design the form.
Step 8 – Now, we have done with designing the form. Let us double-click on the Submit Button and write the below code on the Click event of the Submit Button.
Private Sub cmdSubmit_Click()

Dim iRow As Long

iRow = Sheet1.Range("A" & Rows.Count).End(xlUp).Row + 1

With Sheet1


    .Range("A" & iRow).Value = Me.txtName.Value

    'Gender

    If Me.optFemale.Value Then .Range("B" & iRow).Value = "Female"

    If Me.optMale.Value Then .Range("B" & iRow).Value = "Male"

    If Me.optUnknown.Value Then .Range("B" & iRow).Value = "Unknown"


    'Marital Status

    If Me.optSingle.Value Then .Range("C" & iRow).Value = "Single"

    If Me.optMarried.Value Then .Range("C" & iRow).Value = "Married"

    If Me.optOther.Value Then .Range("C" & iRow).Value = "Other"


End With


 'Reset the controls after submitting

 Me.txtName.Value = ""
 Me.optFemale.Value = False
 Me.optMale.Value = False
 Me.optUnknown.Value = False
 Me.optSingle.Value = False
 Me.optMarried.Value = False
 Me.optOther.Value = False

 MsgBox "Data submitted Successfully!"
End Sub
Step 9 – Let us move to the Excel Worksheet and double-click on the Show Form button and write the below code on its click event.
Private Sub cmdShow_Click()
frmForm.Show
End Sub
Now, the designing and coding part is done. You can run this form and transfer the data to the table.
YouTube Tutorial
Please watch our YouTube tutorial for this.
Download Excel file for practice for Multiple Option Buttons in VBA
Click on below button to download the Excel file used in this tutorial.

Thanks for visiting our website! You can download several free tools and codes from our site. Please visit to other pages which are useful for you.
Please share your feedback for the post ‘Multiple Option Buttons in VBA’

")

